/*
 * Licensed to the Apache Software Foundation (ASF) under one or more
 * contributor license agreements.  See the NOTICE file distributed with
 * this work for additional information regarding copyright ownership.
 * The ASF licenses this file to You under the Apache License, Version 2.0
 * (the "License"); you may not use this file except in compliance with
 * the License.  You may obtain a copy of the License at
 *
 *     http://www.apache.org/licenses/LICENSE-2.0
 *
 * Unless required by applicable law or agreed to in writing, software
 * distributed under the License is distributed on an "AS IS" BASIS,
 * WITHOUT WARRANTIES OR CONDITIONS OF ANY KIND, either express or implied.
 * See the License for the specific language governing permissions and
 * limitations under the License.
 */

package com.automq.example.flink.WordCount;

import org.apache.flink.api.common.eventtime.WatermarkStrategy;
import org.apache.flink.api.common.functions.FlatMapFunction;
import org.apache.flink.api.common.serialization.SimpleStringSchema;
import org.apache.flink.api.java.tuple.Tuple2;
import org.apache.flink.connector.kafka.sink.KafkaRecordSerializationSchema;
import org.apache.flink.connector.kafka.sink.KafkaSink;
import org.apache.flink.connector.kafka.source.KafkaSource;
import org.apache.flink.connector.kafka.source.enumerator.initializer.OffsetsInitializer;
import org.apache.flink.streaming.api.datastream.DataStream;
import org.apache.flink.streaming.api.environment.StreamExecutionEnvironment;
import org.apache.flink.util.Collector;

/**
 * This is a re-write of the Apache Flink WordCount example using Kafka connectors.
 * Find the reference example at https://github.com/redpanda-data/flink-kafka-examples/blob/main/src/main/java/io/redpanda/examples/WordCount.java
 */
public class WordCount {

    final static String TO_FLINK_TOPIC_NAME = "to-flink";
    final static String FROM_FLINK_TOPIC_NAME = "from-flink";
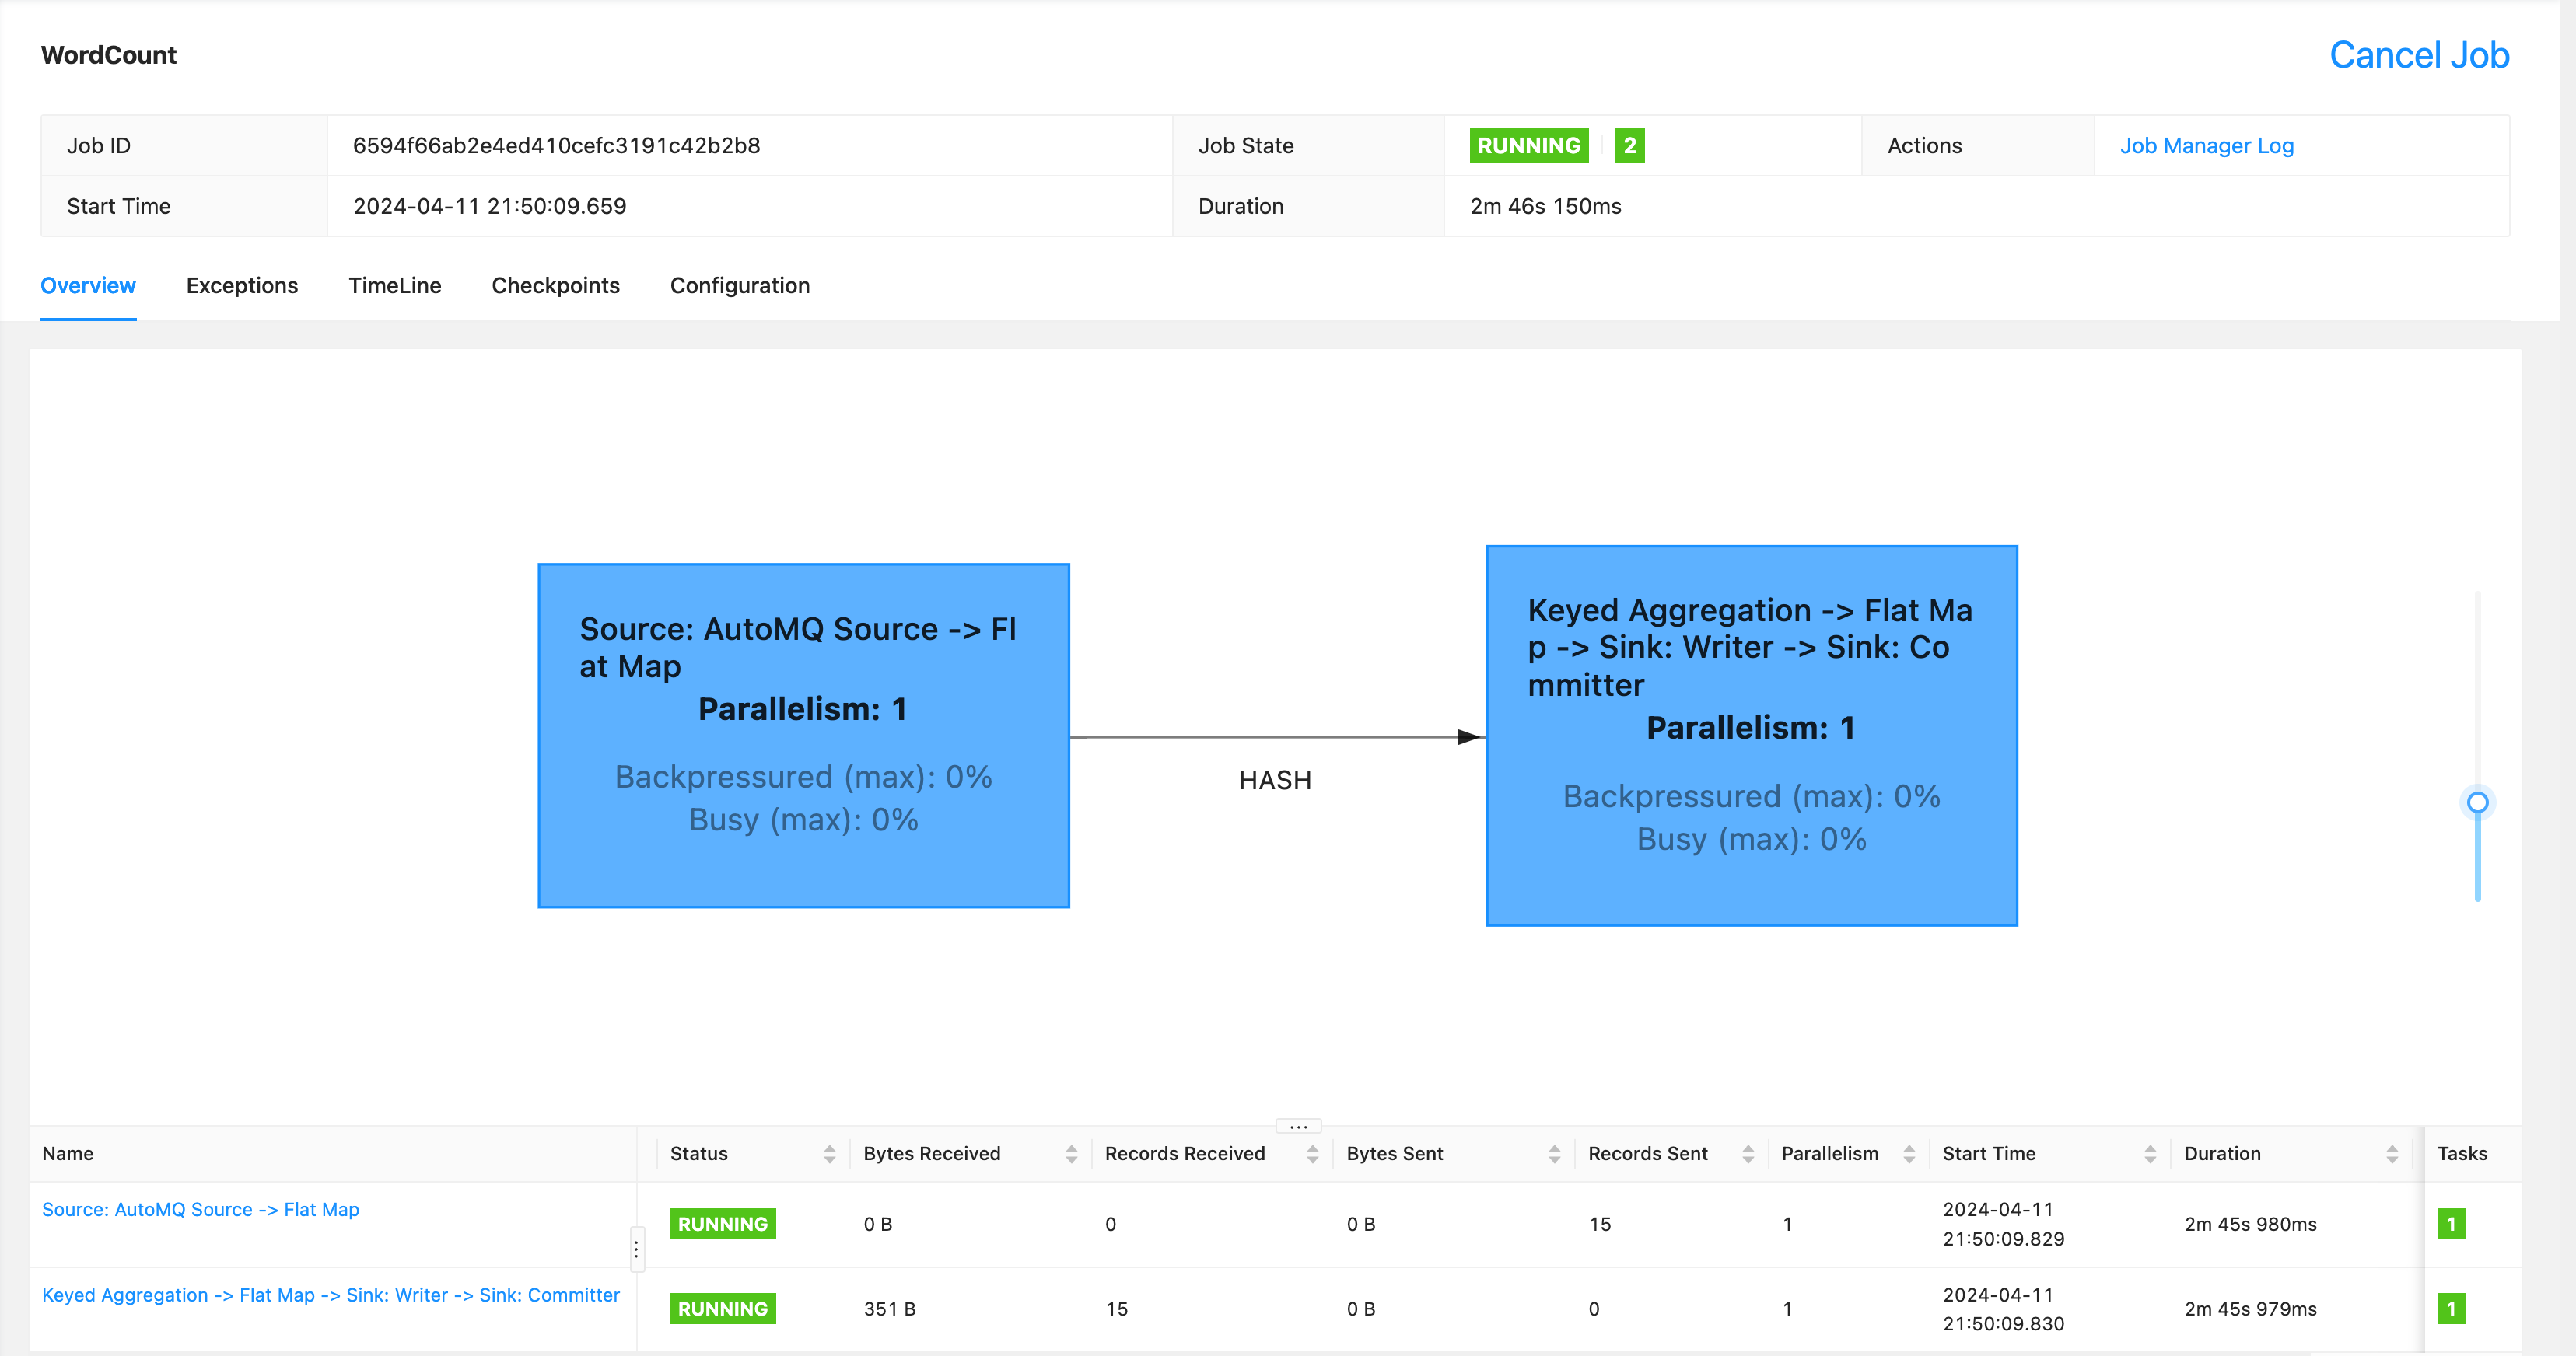
    final static String FLINK_JOB_NAME = "WordCount";

    public static void main(String[] args) throws Exception {
        // Use your AutoMQ cluster's bootstrap servers here
        final String bootstrapServers = args.length > 0 ? args[0] : "localhost:9094";

        // Set up the streaming execution environment
        final StreamExecutionEnvironment env = StreamExecutionEnvironment.getExecutionEnvironment();

        KafkaSource<String> source = KafkaSource.<String>builder()
                .setBootstrapServers(bootstrapServers)
                .setTopics(TO_FLINK_TOPIC_NAME)
                .setGroupId("automq-example-group")
                .setStartingOffsets(OffsetsInitializer.earliest())
                .setValueOnlyDeserializer(new SimpleStringSchema())
                .build();

        KafkaRecordSerializationSchema<String> serializer = KafkaRecordSerializationSchema.builder()
                .setValueSerializationSchema(new SimpleStringSchema())
                .setTopic(FROM_FLINK_TOPIC_NAME)
                .build();

        KafkaSink<String> sink = KafkaSink.<String>builder()
                .setBootstrapServers(bootstrapServers)
                .setRecordSerializer(serializer)
                .build();

        DataStream<String> text = env.fromSource(source, WatermarkStrategy.noWatermarks(), "AutoMQ Source");

        // Split up the lines in pairs (2-tuples) containing: (word,1)
        DataStream<String> counts = text.flatMap(new Tokenizer())
                // Group by the tuple field "0" and sum up tuple field "1"
                .keyBy(value -> value.f0)
                .sum(1)
                .flatMap(new Reducer());

        // Add the sink to so results
        // are written to the outputTopic
        counts.sinkTo(sink);

        // Execute program
        env.execute(FLINK_JOB_NAME);
    }

    /**
     * Implements the string tokenizer that splits sentences into words as a user-defined
     * FlatMapFunction. The function takes a line (String) and splits it into multiple pairs in the
     * form of "(word,1)" ({@code Tuple2<String, Integer>}).
     */
    public static final class Tokenizer
            implements
                FlatMapFunction<String, Tuple2<String, Integer>> {

        @Override
        public void flatMap(String value, Collector<Tuple2<String, Integer>> out) {
            // Normalize and split the line
            String[] tokens = value.toLowerCase().split("\\W+");

            // Emit the pairs
            for (String token : tokens) {
                if (token.length() > 0) {
                    out.collect(new Tuple2<>(token, 1));
                }
            }
        }
    }

    // Implements a simple reducer using FlatMap to
    // reduce the Tuple2 into a single string for
    // writing to kafka topics
    public static final class Reducer
            implements
                FlatMapFunction<Tuple2<String, Integer>, String> {

        @Override
        public void flatMap(Tuple2<String, Integer> value, Collector<String> out) {
            // Convert the pairs to a string
            // for easy writing to Kafka Topic
            String count = value.f0 + " " + value.f1;
            out.collect(count);
        }
    }
}

