Preface
Kafdrop [1] is a streamlined, intuitive, and powerful Web UI tool designed for Kafka. It enables developers and administrators to view and manage key metadata of Kafka clusters, including topics, partitions, consumer groups, and their offsets. By providing a user-friendly interface, Kafdrop greatly simplifies the monitoring and management processes of Kafka clusters, allowing users to efficiently access cluster status information without relying on complex command-line tools. Thanks to AutoMQ’s full compatibility with Kafka, it integrates with Kafdrop. By leveraging Kafdrop, AutoMQ users also benefit from an intuitive user interface to monitor Kafka cluster status in real-time, covering crucial metadata such as topics, partitions, consumer groups, and their offsets. This monitoring capability not only boosts the efficiency of problem diagnostics but also aids in optimizing cluster performance and resource utilization. This tutorial will guide you on how to start the Kafdrop service and pair it with an AutoMQ cluster to achieve cluster status monitoring and management.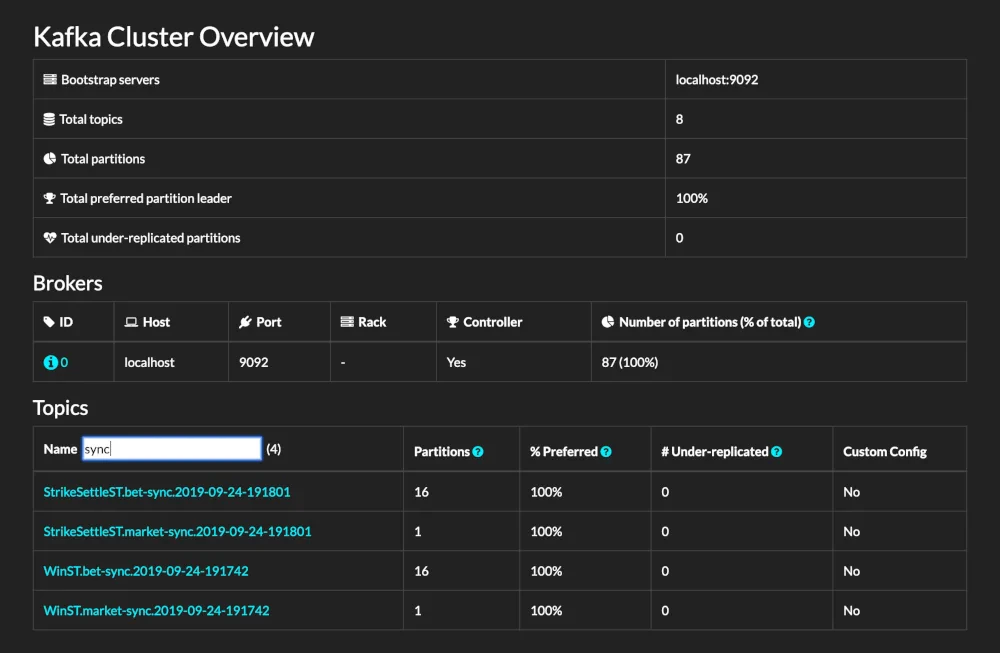
Prerequisites
- An available Kafdrop environment.
- An available AutoMQ cluster.
Install and Start the AutoMQ Cluster
Refer to the official AutoMQ documentation for deploying an AutoMQ cluster: Deploy Multi-Nodes Cluster on Linux▸ [2]Starting the Kafdrop Service
In the steps mentioned above, an AutoMQ cluster has already been set up, and you’ve obtained the addresses and ports on which the broker nodes are listening. The next step is to start the Kafdrop service.Note: Ensure that the location where the Kafdrop service is hosted can access the AutoMQ cluster; otherwise, you may encounter connection timeouts or other issues.Kafdrop can be deployed via JAR package, Docker deployment, or using the protobuf method. Refer to the official documentation [3]. In this example, we use the JAR package method to start the Kafdrop service. The steps are as follows:
- Clone the Kafdrop repository source code: Kafdrop GitHub [4]
- Use Maven to compile and package Kafdrop locally to generate the JAR file. Execute the following in the root directory:
- To start the service, you need to specify the addresses and ports of the AutoMQ cluster brokers:
-
Replace
kafdrop-<version>.jarwith the specific version, such askafdrop-4.0.2-SNAPSHOT.jar. -
Use
--kafka.brokerConnect=<host:port,host:port>to specify the host and port for the specific cluster broker nodes.
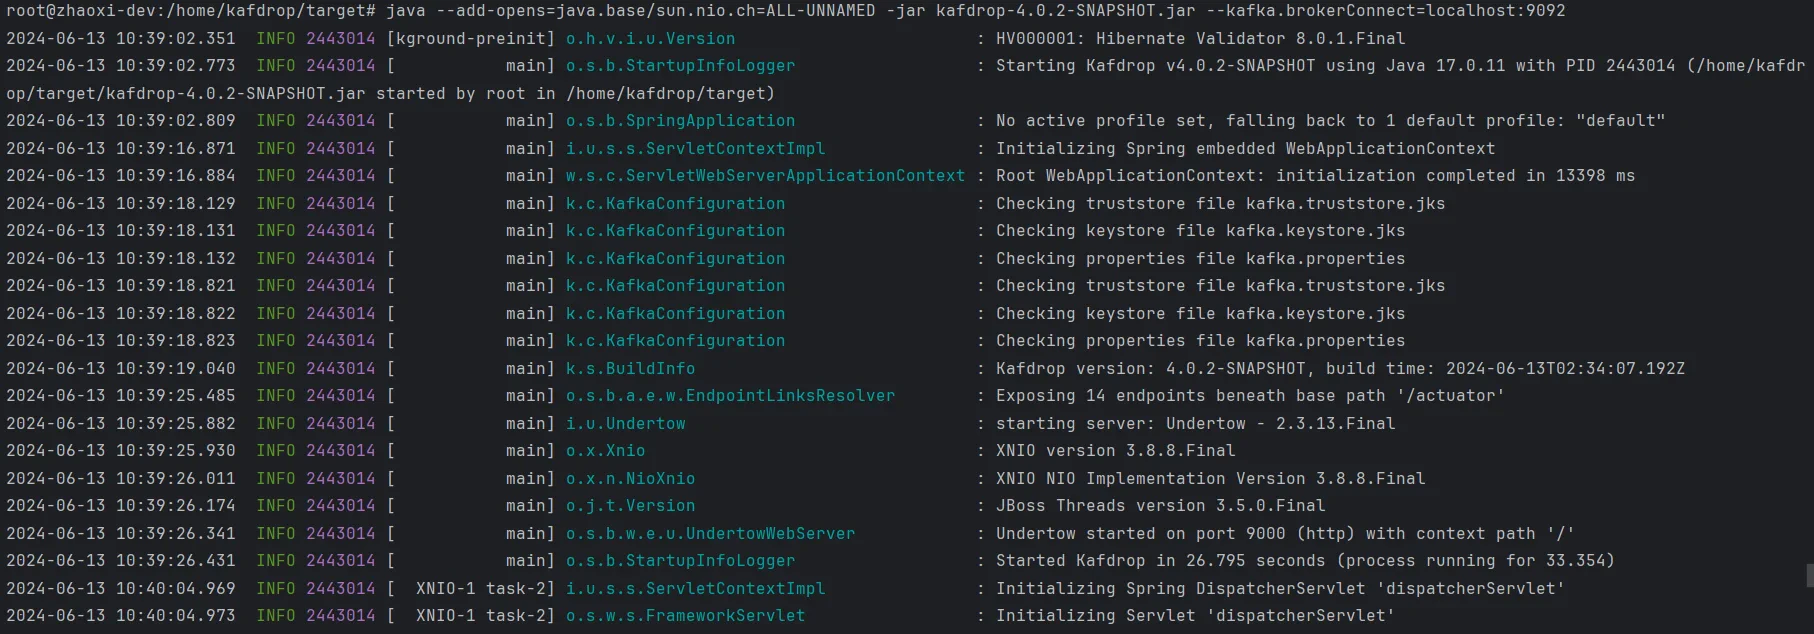
kafka.brokerConnect defaults to localhost:9092.
Note: Starting from Kafdrop 3.10.0, a ZooKeeper connection is no longer required. All necessary cluster information is retrieved through the Kafka management API.
Open a browser and navigate to http://localhost:9000. The port can be overridden by adding the following configuration:
Final Output
- Complete Interface

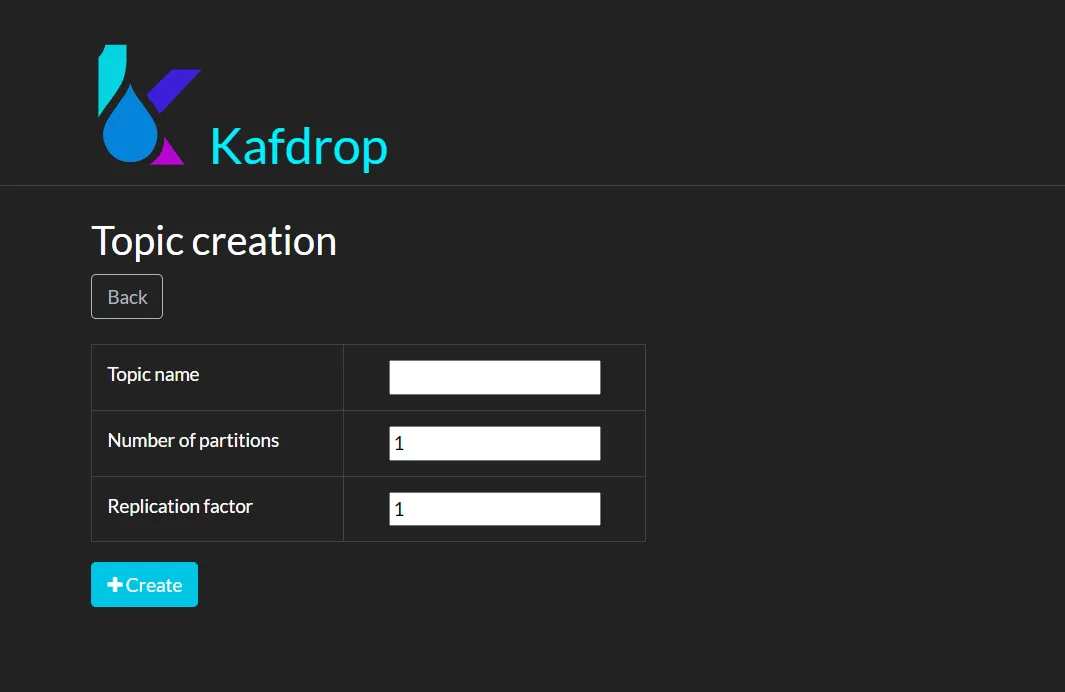
- Create New Topic Feature
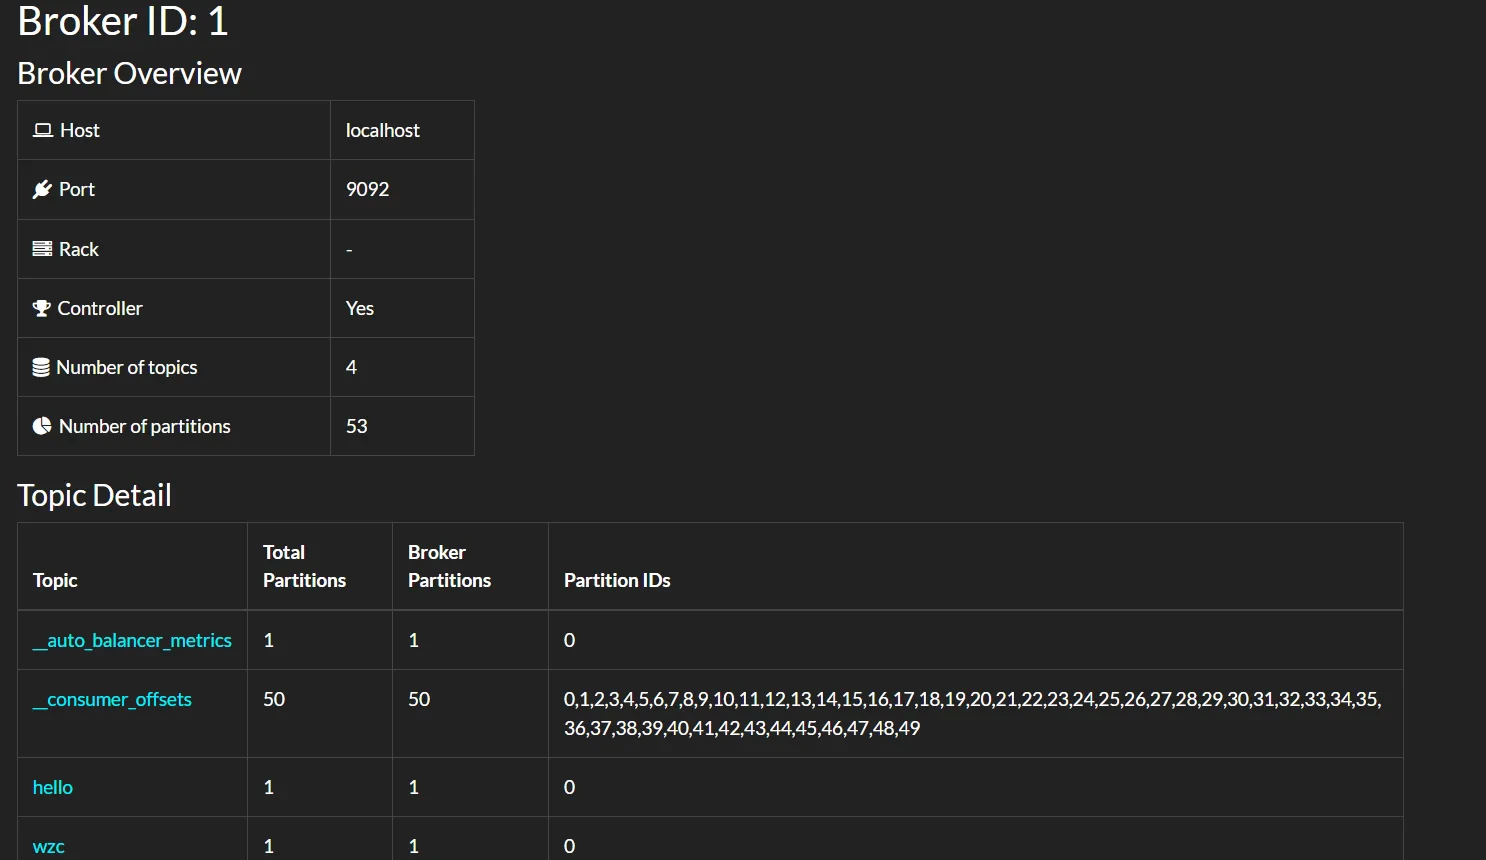
- Details on Broker Node
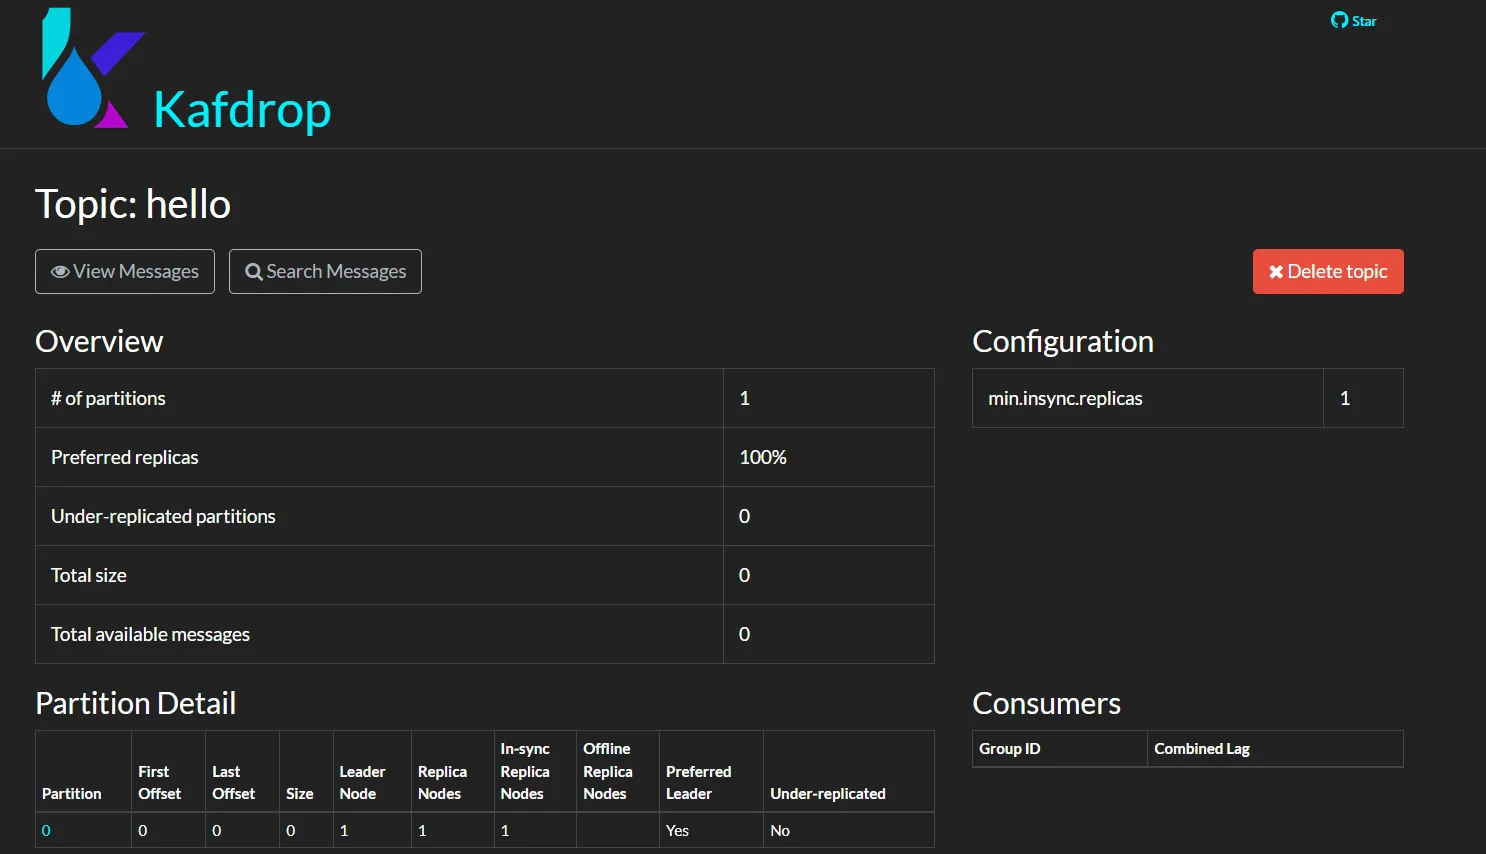
- Details on Topic
- Information on Messages Within Topic
