Manage Integrations
When using AutoMQ Cloud products, users can leverage integration features to facilitate data exchange between instances within the environment and external systems. This article introduces the usage of integration features.
In this article, the terms AutoMQ product service provider, AutoMQ service provider, and AutoMQ all specifically refer to AutoMQ HK Limited.
Integration Types
AutoMQ Cloud currently supports the following integration features:
| Integration Type | Data Type | Applicable Scenarios |
|---|---|---|
| Prometheus OTLP |
|
|
| Apache Kafka |
|
|
| CloudWatch |
|
|
Creating Prometheus Integration
Prerequisites
The principle behind the Prometheus integration feature of AutoMQ Cloud is that each data node in the cluster writes Metrics data directly to Prometheus' HTTP interface using the OpenTelemetry protocol. Therefore, the Prometheus service provided by the user needs to be compatible with the OT protocol.
Integrating with Self-Hosted Prometheus Service
Refer to Prometheus' version notes. This feature requires the user's Prometheus service to meet the following conditions:
Prometheus version must be at least 2.47.
When deploying the cluster, the configuration “--enable-feature=otlp-write-receiver” needs to be enabled in the startup command.
Configuration example:
Start the Prometheus service: ./prometheus --config.file=xxxx.yml --enable-feature=otlp-write-receiver
When using a self-hosted Prometheus service, set the OTLP endpoint to: http://${your_ip}:9090/api/v1/otlp/v1/metrics
If your self-hosted Prometheus service is based on the VictoriaMetrics Business Edition, ensure that the version of VictoriaMetrics is at least 1.92.0 and configure the endpoint according to the relevant documentation here.
Integration with Cloud Providers' Prometheus Services
If you are using a Business Edition provided by a Public Cloud provider, it is recommended to consult the technical staff of the cloud provider. For instance, Alibaba Cloud’s Prometheus service offers out-of-the-box support for the OT protocol. Refer to the documentation for reporting data via the OT protocol here.
Steps
Users can create a Prometheus integration by following these steps:
- Navigate to the Integration List page and create a new integration. Users should access the environment console, click on Integrations in the left navigation bar to enter the Integration List page. Click on Create Integration and follow the prompts to input the information below to complete the creation process.
| Parameter | Example Value |
|---|---|
| Integration Name | Provide distinct aliases for integration configuration items. For specific limitations, refer to Restrictions▸. |
| Integration Type | Select Prometheus Service |
| Prometheus OpenTelemetry Write Interface | The AutoMQ Cloud environment uses the OpenTelemetry protocol to directly write Metrics data from instances within the environment to the user-specified Prometheus cluster. The user needs to provide this protocol interface. |
| Username | If ACL authentication is enabled on the Prometheus service, configure the username. |
| Password | If ACL authentication is enabled on the Prometheus service, configure the password. |
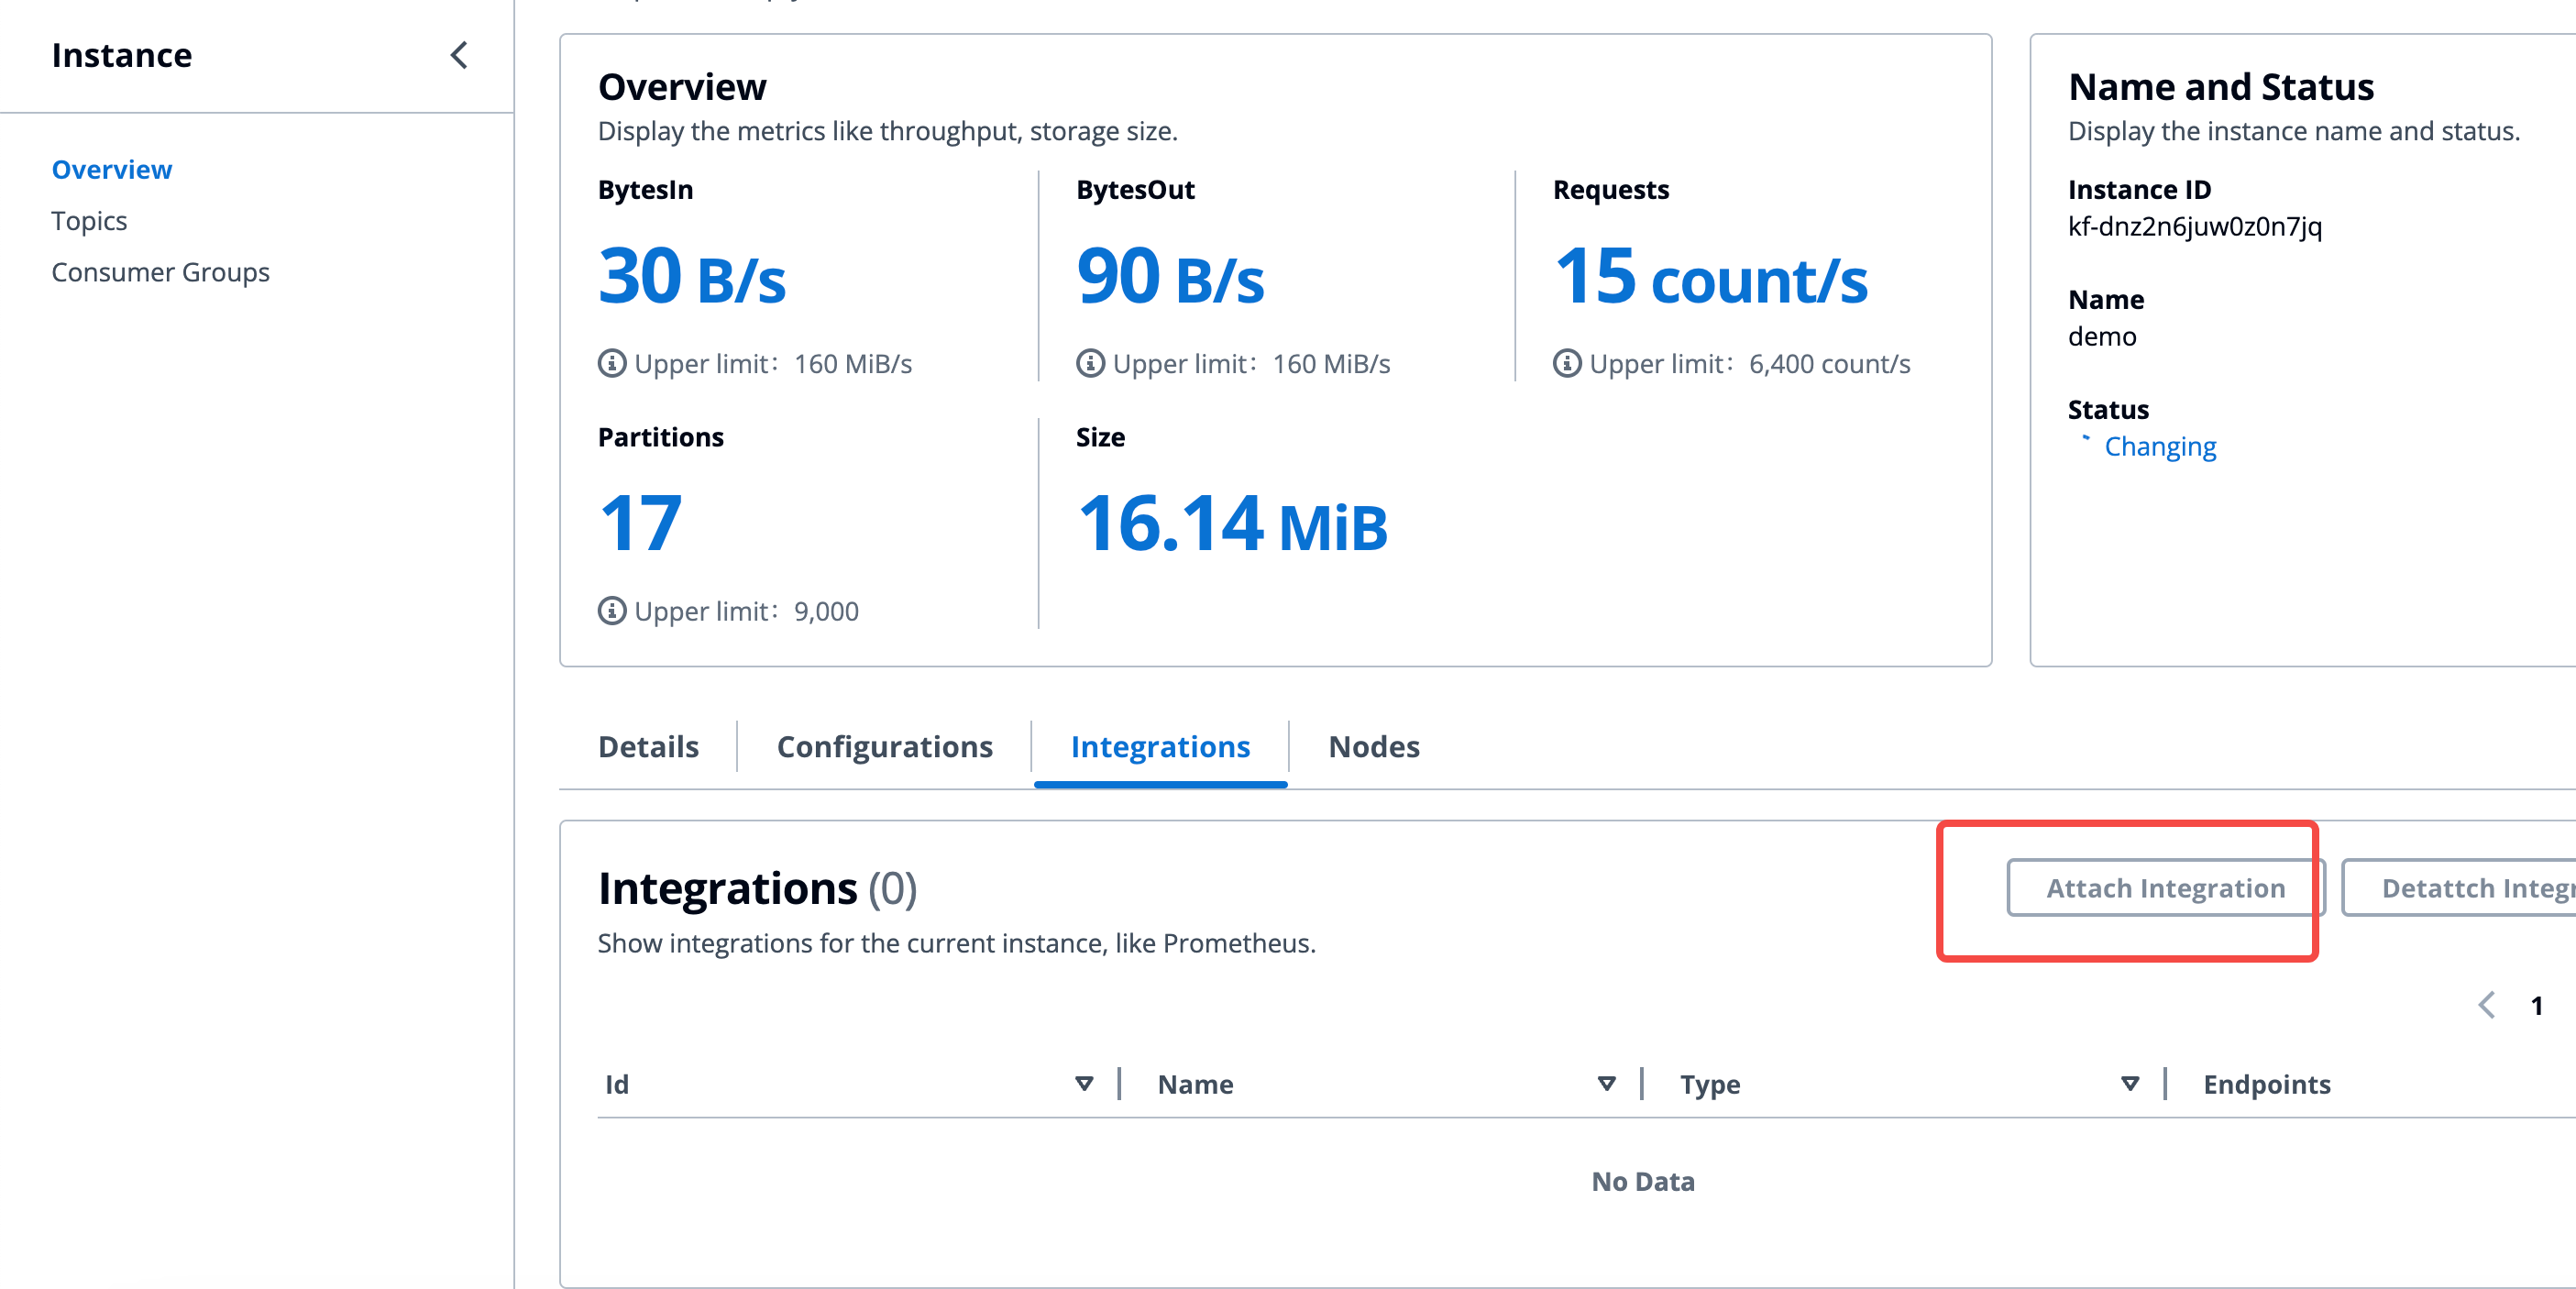
- Navigate to the Instance Details Page and Reference the Integration Configuration. For the instance that requires integration configuration, go to the corresponding instance details page, reference the integration item created in the first step, enable the configuration, and then observe whether data is being reported in the Prometheus service.
Please refer to the metrics data definitions provided by AutoMQ Cloud in Monitoring & Alert via Prometheus▸.
Creating Apache Kafka Integration
Prerequisites
The principle behind the Apache Kafka integration feature of AutoMQ Cloud is to achieve real-time synchronization and reassignment of data such as messages by connecting external Kafka clusters (including other Kafka-compatible versions) through the Kafka Connector component. Therefore, it is necessary to ensure:
The version of the external Apache Kafka cluster is greater than 0.9.x.
The network between the external Kafka cluster and AutoMQ is unobstructed.
Steps
Users can create an Apache Kafka integration by following these steps:
- Navigate to the Integration List page and create a new integration. Users should access the environment console, click on Integrations in the left navigation bar to enter the Integration List page. Click on Create Integration and follow the prompts to input the information below to complete the creation process.
| Parameter | Example Value |
|---|---|
| Integration Name | Provide distinct aliases for integration configuration items. For specific limitations, refer to Restrictions▸. |
| Integration Type | Select Apache Kafka Service If the source cluster is a cloud provider-hosted Kafka or another Kafka distribution, it is also supported. |
| Access Protocol | Client access protocol for connecting to external Kafka clusters. Currently supported:
|
Creating CloudWatch Integration
Prerequisites
The principle behind the CloudWatch integration feature of AutoMQ Cloud is to write the Metrics data of the AutoMQ cluster into the user-specified CloudWatch Namespace via the CloudWatch API.
Steps
Users can create a CloudWatch integration by following these steps:
- Navigate to the Integration List page and create a new integration. Users should access the environment console, click on Integrations in the left navigation bar to enter the Integration List page. Click on Create Integration and follow the prompts to input the information below to complete the creation process.
| Parameter | Example Value |
|---|---|
| Integration Name | Provide distinct aliases for integration configuration items. For specific limitations, refer to Restrictions▸. |
| Integration Type | Select CloudWatch Service |
| Namespace | Follow CloudWatch naming conventions and provide a custom Namespace. Metrics data will be written into the specified Namespace. |