使用 Terraform Module 安装环境
参考概述▸ ,使用AutoMQ Cloud 需要先安装环境。本文介绍如何使用 Terraform Module 安装 BYOC 环境。
本文中提及 AutoMQ 产品服务方、AutoMQ 服务方、AutoMQ,均特指 AutoMQ HK Limited及其附属公司。
操作流程
步骤 1:准备 VPC
AutoMQ BYOC 环境部署在用户 VPC 内,以保障数据隐私和安全。使用 Terraform 安装 AutoMQ 环境时,支持以下两种方式:
自动创建新的 VPC 安装环境: 选择此选项后由安装程序自动创建 VPC 等资源,无需用户手工配置,推荐用于首次 POC 和测试。
由用户提供 VPC 安装环境: 安装程序不会主动创建 VPC 网络,由用户指定已有的 VPC 网络和子网信息。
如果选择 由用户提供 VPC 安装环境 ,则 VPC 需要满足如下条件:
可用区要求 :根据业务需求,如果后续需要创建三可用区实例,则至少需要分配三个可用区和子网。
子网 CIDR 要求: AutoMQ 数据面集群使用用户 VPC 部署,会消耗 VPC 子网的 IP,建议每个子网下分配充足的可用 IP(建议每个子网不低于 1000 个可用 IP),以免后续无法部署和扩容集群。
访问公网要求: 部署 AutoMQ 数据面集群需要从公网环境拉取 Docker 镜像和 Helm Chart 产物。因此需要 VPC 环境支持通过 SNAT 等方式出公网。配置公网 SNAT 的操作说明请参考本文档附录部分 从华为云云商店安装环境▸。
步骤 2:调用 AutoMQ Terraform Module 安装环境
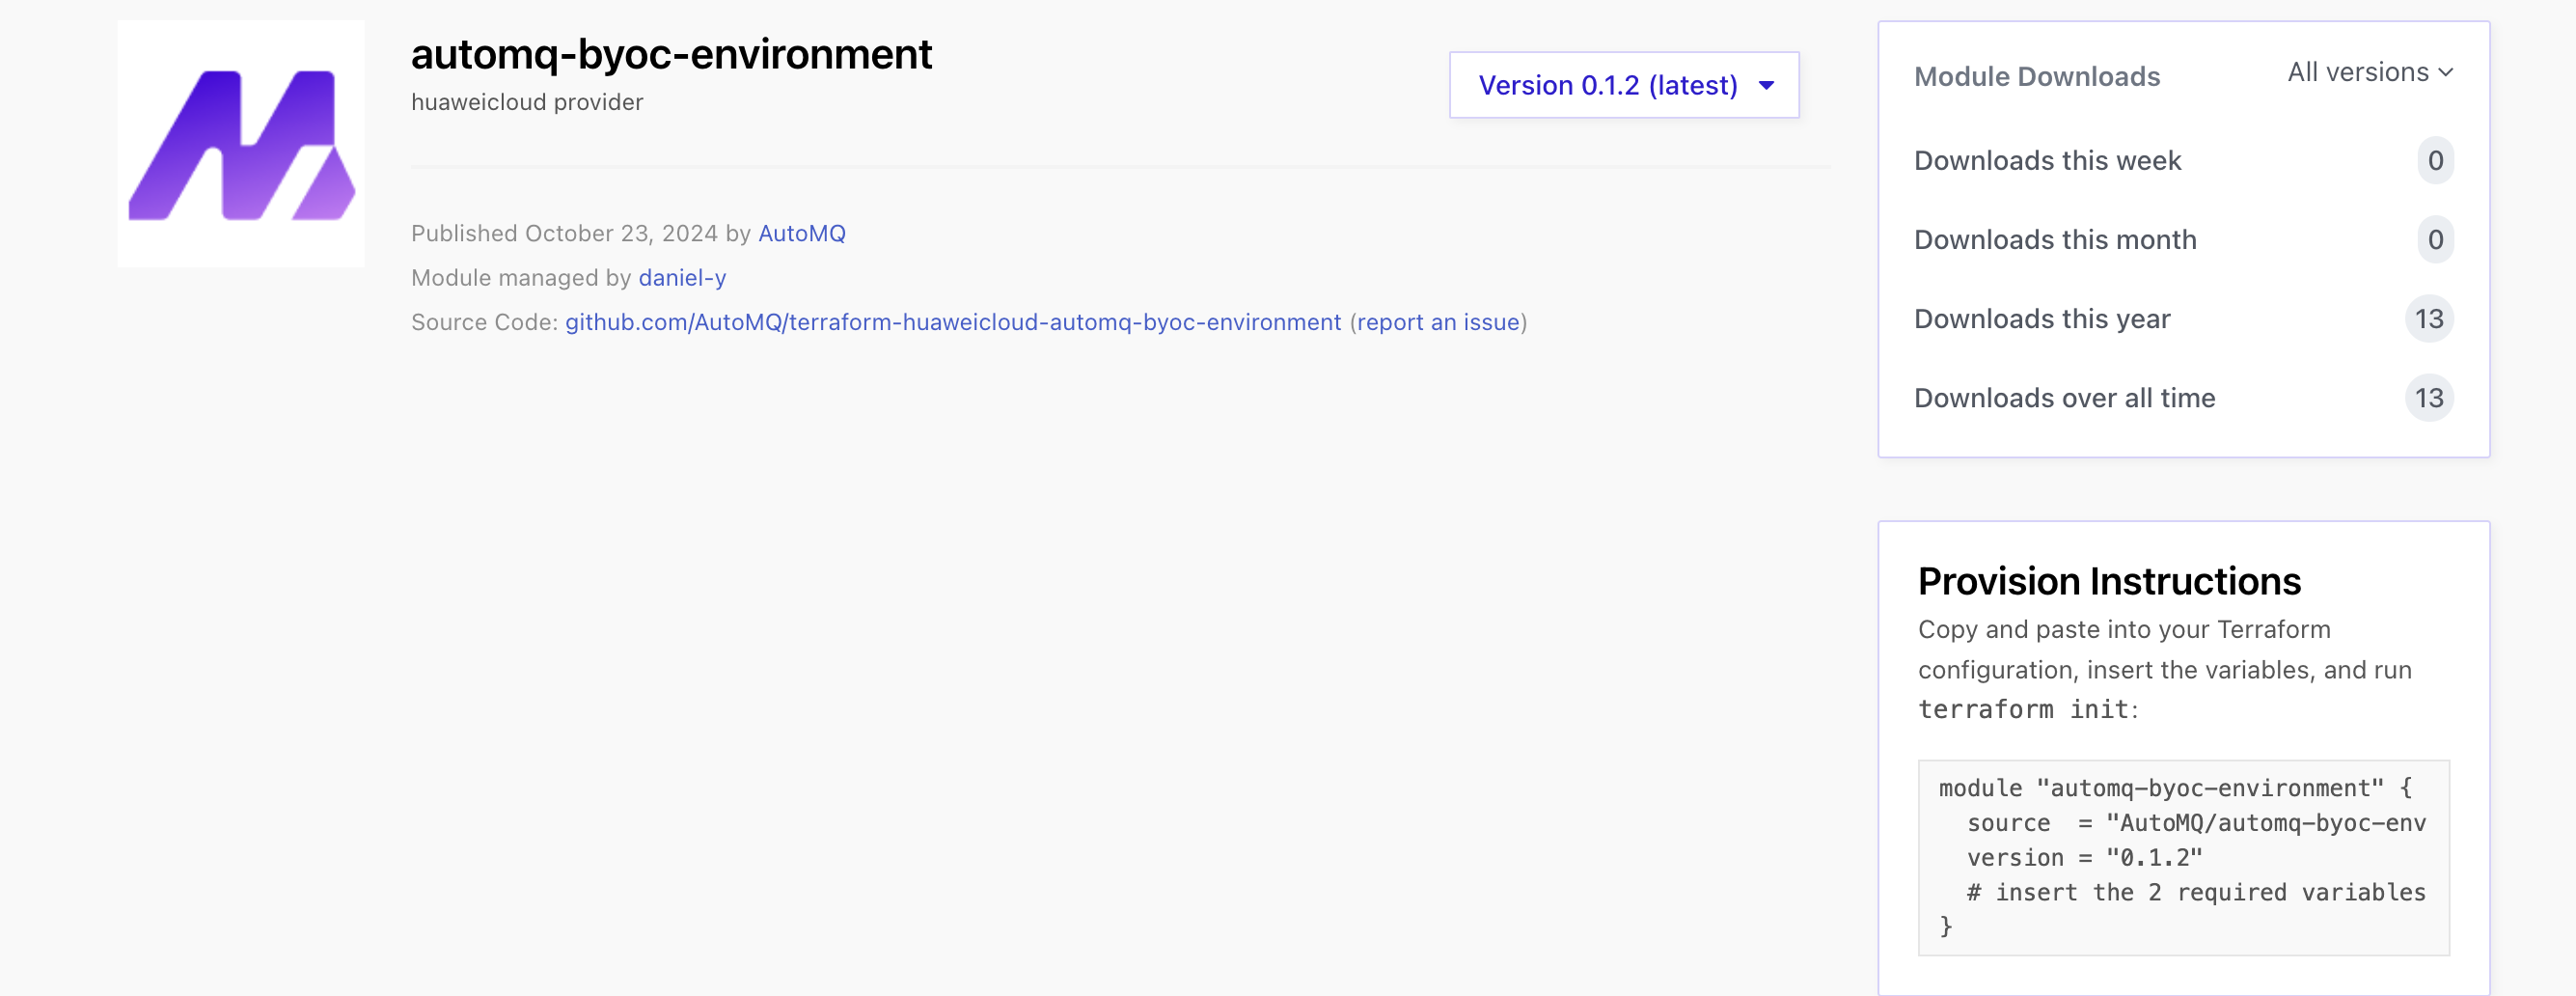
使用 Terraform Module 安装 BYOC 环境前建议根据文档选择(或升级至)最新的 Module 版本,再集成 AutoMQ Terraform Module 进行环境安装部署。
- 在本地环境安装 Terraform 命令行工具;安装完成后确认可以输出版本。

- 配置华为云云账号,可以使用子账号,并赋予权限,配置 AK、SK 用于执行安装。
export HW_ACCESS_KEY='设置云账号的 ak'
export HW_SECRET_KEY='设置云账号的 sk'
- 创建一个automq_byoc_env 文件夹,并在其中创建一个
main.tf文件。安装 BYOC 环境的简单示例代码如下:
module "automq_byoc" {
  source = "AutoMQ/automq-byoc-environment/huaweicloud"

  # Set the identifier for the environment to be installed. This ID will be used for naming internal resources. The environment ID supports only uppercase and lowercase English letters, numbers, and hyphens (-). It must start with a letter and is limited to a length of 32 characters.
  automq_byoc_env_id                       = "xxxxxxxxxx"

  # Set the target regionId of huaweicloud
  cloud_provider_region                    = "cn-east-3"

  create_new_vpc = true

 }

 # Necessary outputs
output "automq_byoc_env_id" {
  value = module.automq_byoc.automq_byoc_env_id
}

output "automq_byoc_endpoint" {
  value = module.automq_byoc.automq_byoc_endpoint
}

output "automq_byoc_initial_username" {
  value = module.automq_byoc.automq_byoc_initial_username
}

output "automq_byoc_initial_password" {
  value = module.automq_byoc.automq_byoc_initial_password
}

output "automq_byoc_vpc_id" {
  value = module.automq_byoc.automq_byoc_vpc_id
}

output "automq_byoc_instance_id" {
  value = module.automq_byoc.automq_byoc_instance_id
}
完整的文档请访问 AutoMQ Terraform Modules 仓库,并参考对应的 README 文档 执行创建操作。

- 在该文件夹下执行
terraform init命令,完成初始化。
❯ terraform init
Initializing the backend...
Initializing modules...
Downloading registry.terraform.io/AutoMQ/automq-byoc-environment/huaweicloud 0.1.1 for automq_byoc...
- automq_byoc in .terraform/modules/automq_byoc
Initializing provider plugins...
- Reusing previous version of huaweicloud/huaweicloud from the dependency lock file
- Using previously-installed huaweicloud/huaweicloud v1.68.1
...
- 执行
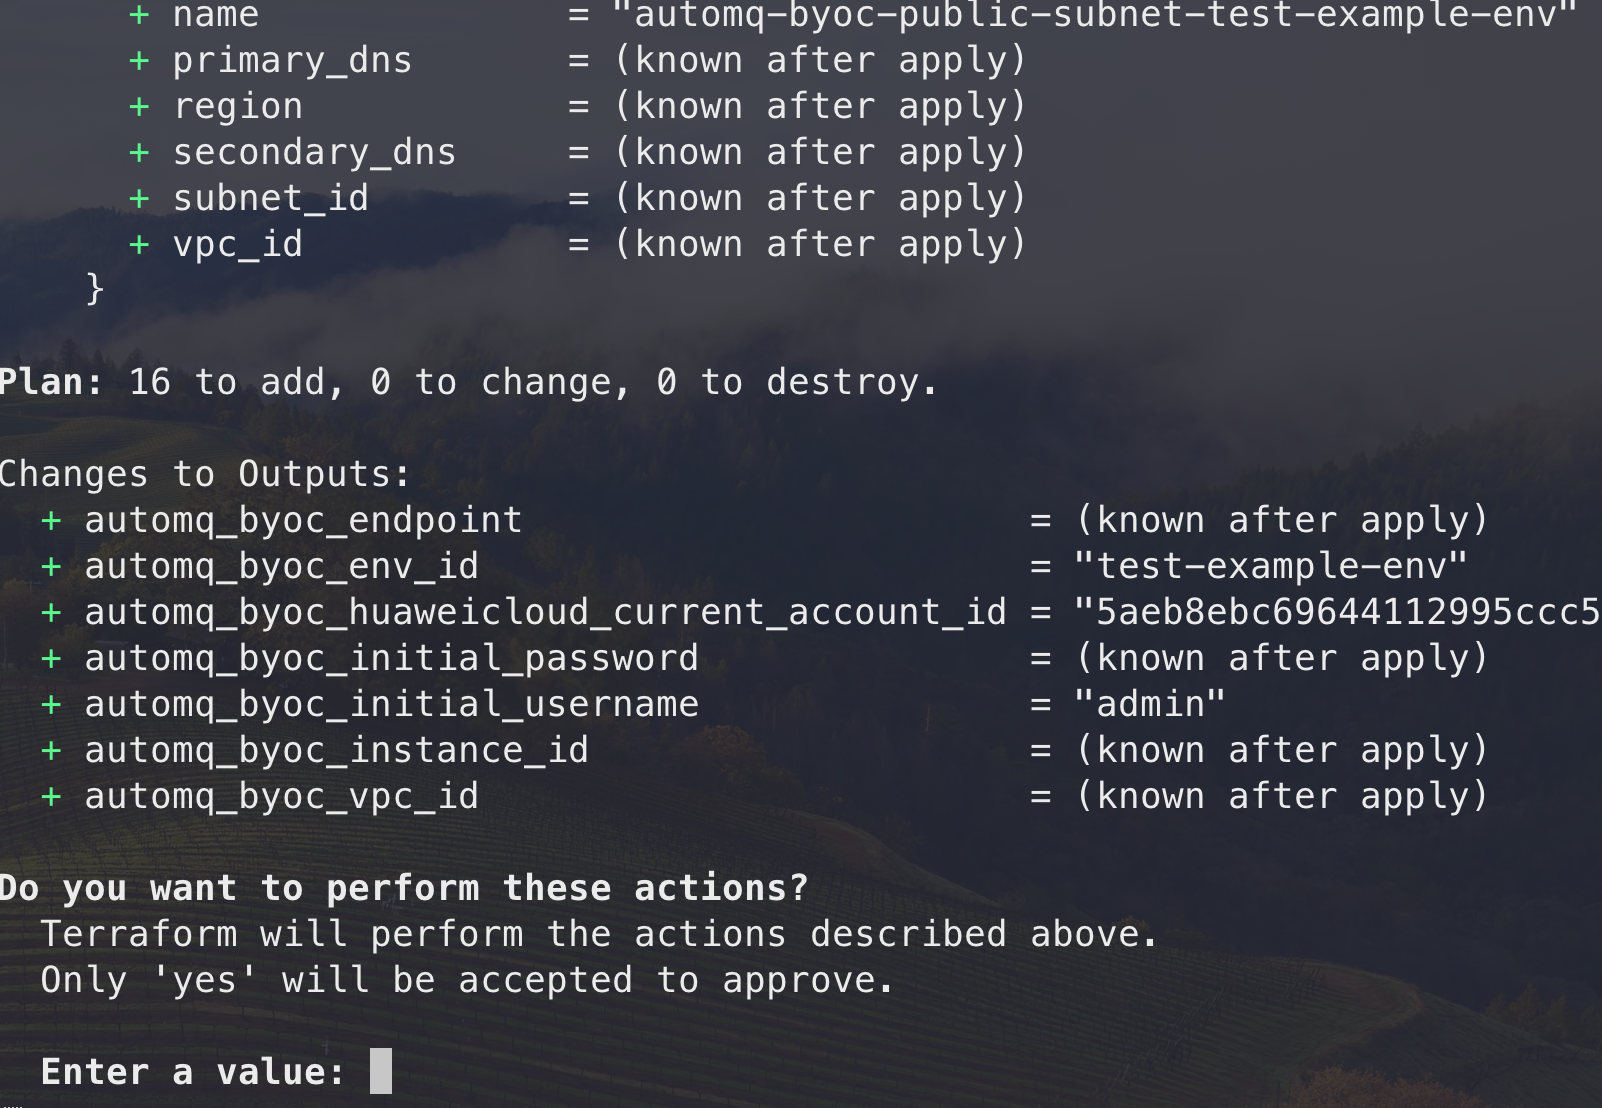
terraform apply可以查看计划创建的云资源,输入yes后,则进行具体的创建过程。

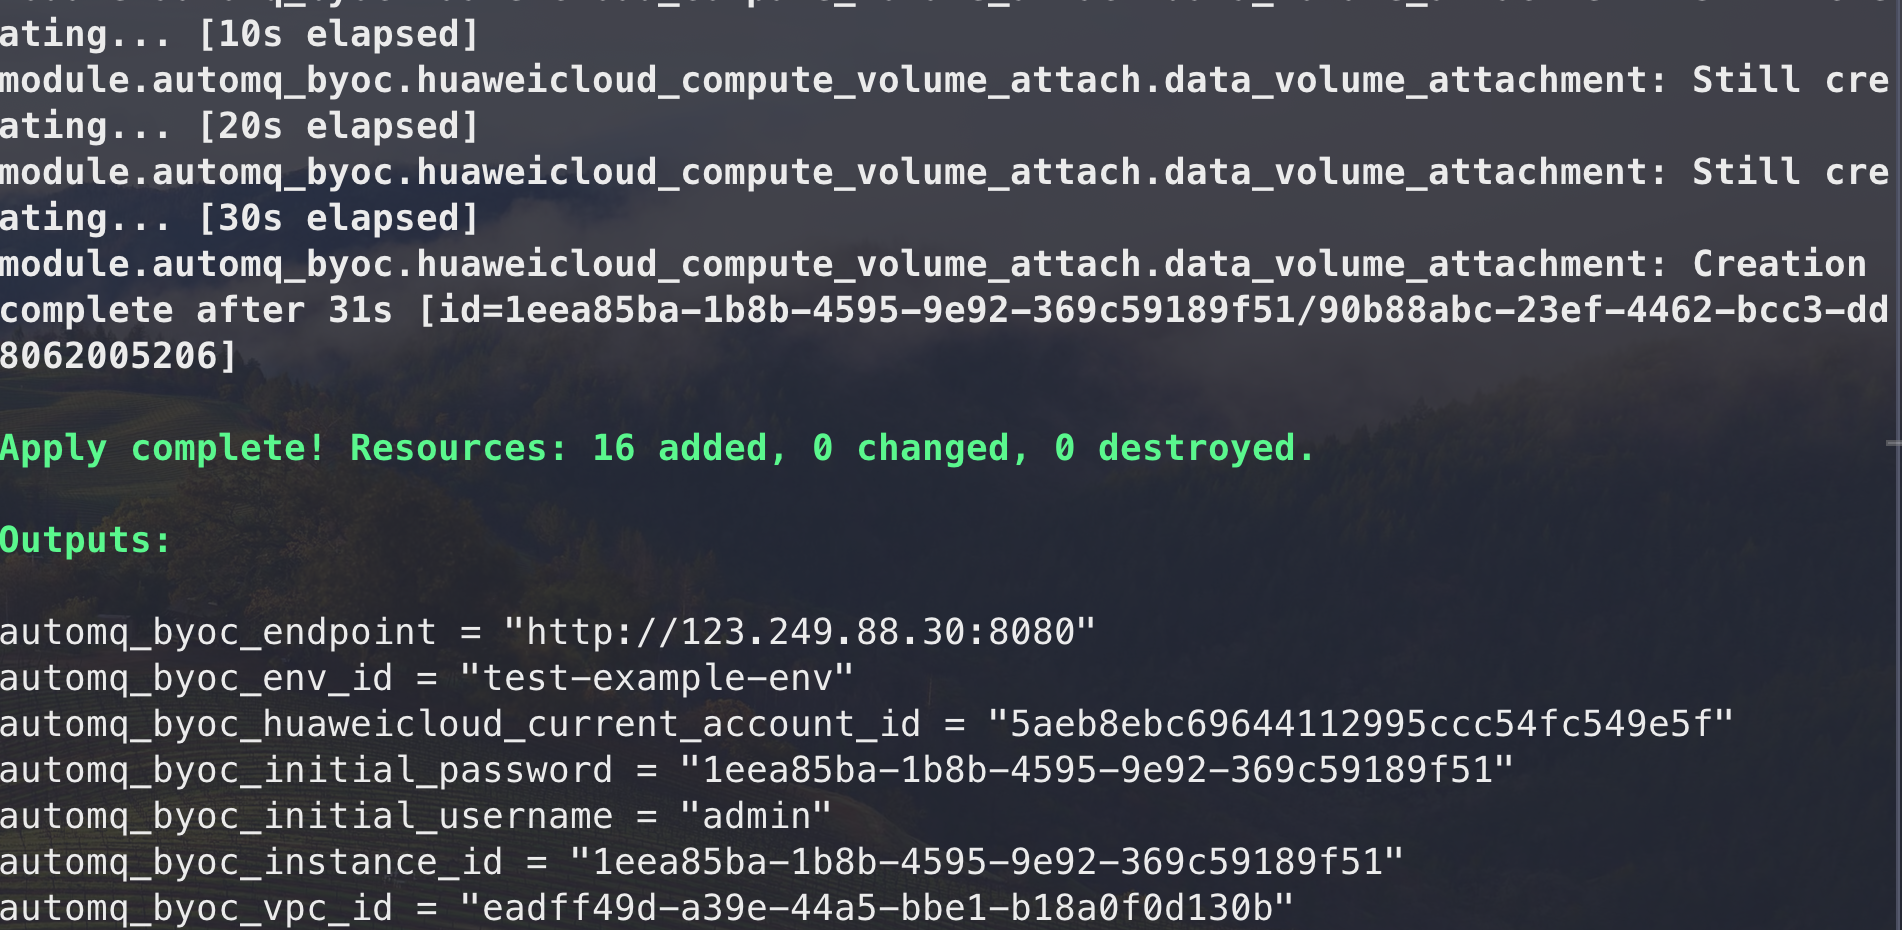
- 等待大约 1-2 分钟的时间,terraform会创建出该环境云资源,并提供环境接入点以及初始账户密码。

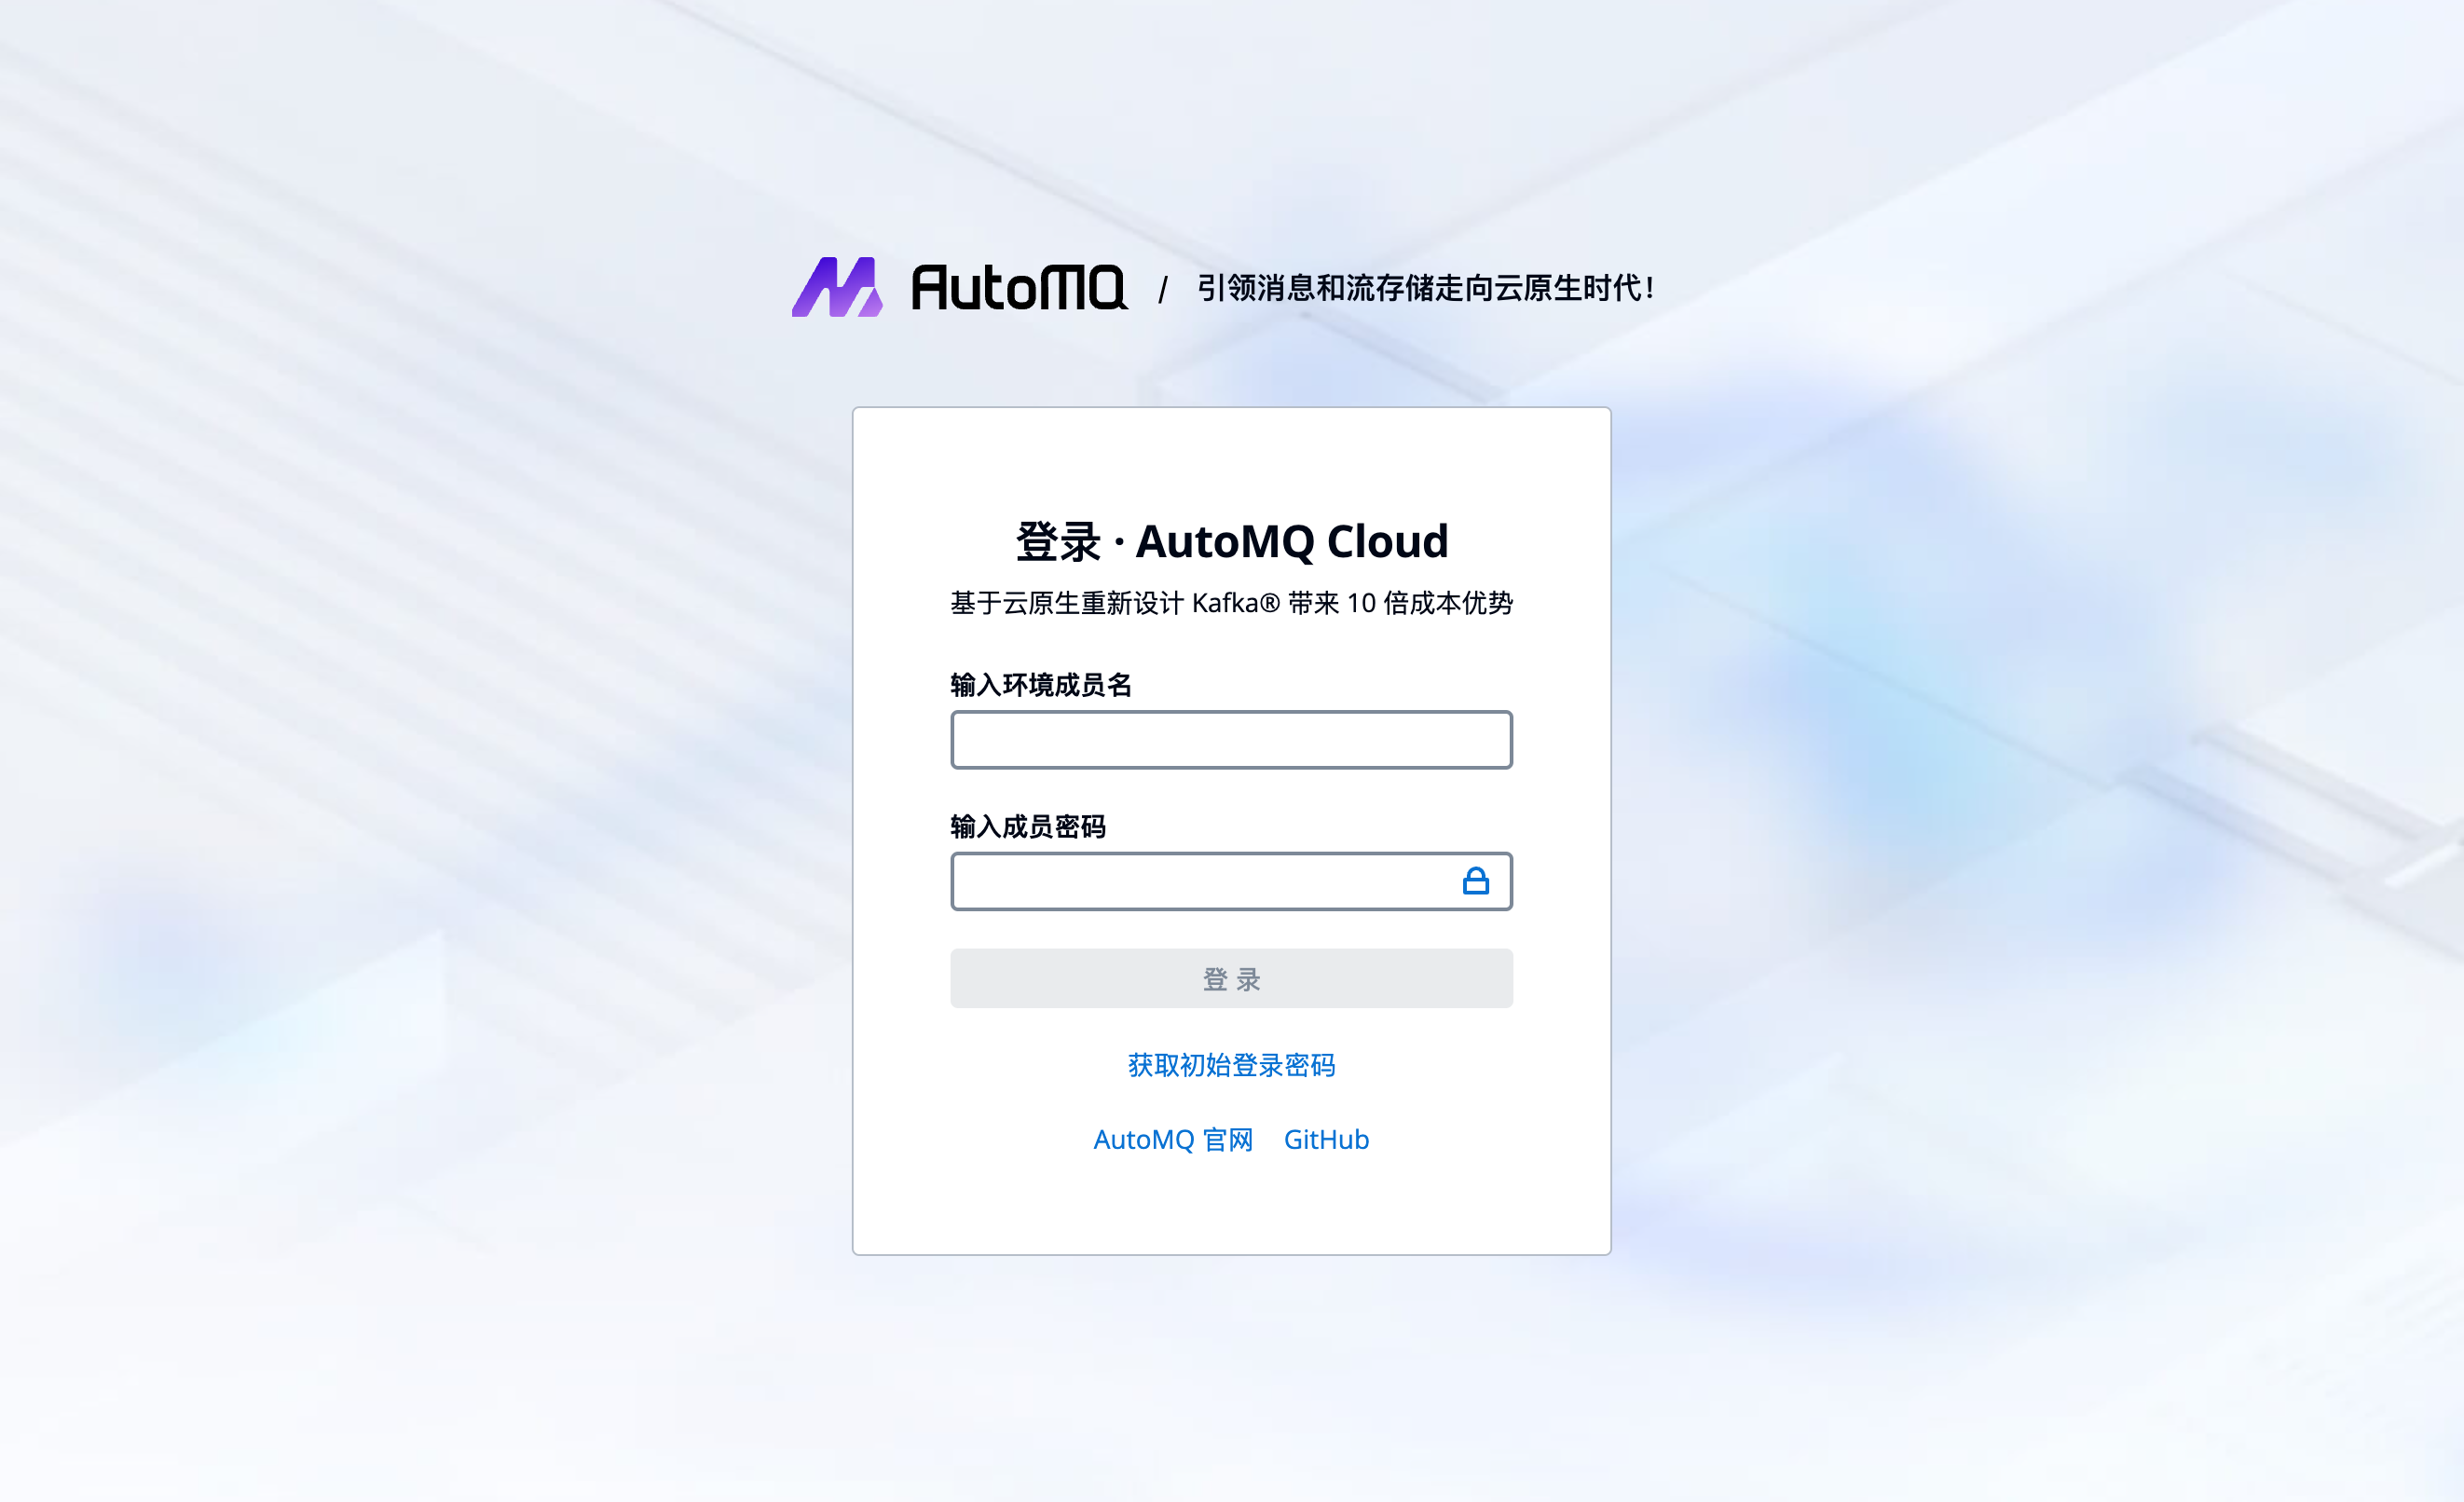
- 进入环境控制台,根据 terraform 输出的初始账号密码进行登录,并修改为自定义密码。

步骤 2:完成 BYOC 环境运维授权
BYOC 环境部署在用户 VPC,具备数据安全和隐私隔离的效果,但 BYOC 环境内部会产生系统日志、Metrics 等业务无关的系统数据。环境安装完成后,用户需要参考管理环境运维授权▸ 对 AutoMQ 服务方提供相应的运维授权,方便 AutoMQ 服务方进行系统稳定性监控和故障自愈等运维操作。
后续步骤
环境安装完成后,即可访问环境使用,AutoMQ 支持如下两种方式:
通过 Terraform 使用 AutoMQ: 环境安装完成后,用户可以通过 AutoMQ Terraform Provider 管理和使用 AutoMQ。通过 Terraform 方式使用 AutoMQ ,请参考文档。
通过 WebUI 使用 AutoMQ: 通过浏览器访问返回的控制台地址,输入初始用户名密码,即可进入环境控制台创建实例,并体验产品功能。体验 AutoMQ for Kafka▸
注意:
如果在安装环境时选择 k8s 模式,则还需要先配置 CCE 集群,然后才可以创建 AutoMQ 实例(集群)。配置 CCE 集群请参考部署到华为云 CCE▸。